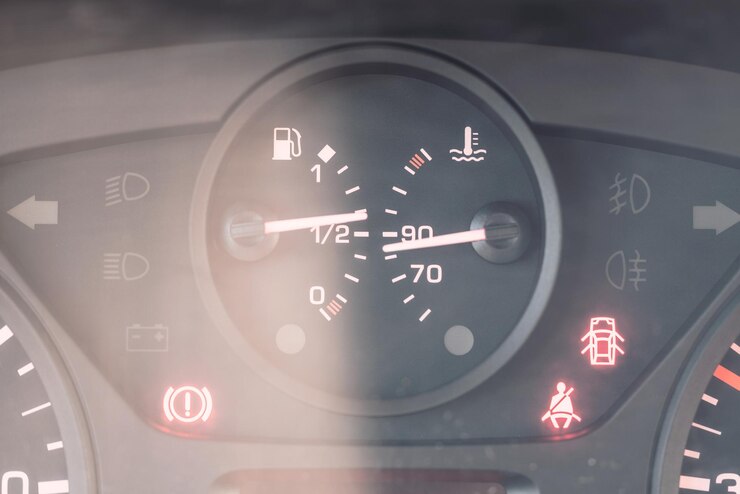
The emergency brake, also known as the parking brake or handbrake, is an important safety feature in vehicles. When engaged, it helps secure the vehicle in a stationary position. In some instances, the emergency brake warning light on the dashboard may illuminate, indicating a potential issue. It’s crucial to understand the possible causes and troubleshoot the problem to ensure the proper functioning of the emergency brake system. In this article, we will provide troubleshooting tips for emergency brake warning lights.
Common Causes of Emergency Brake Warning Lights:
- Insufficient Brake Fluid: The emergency brake warning light may illuminate if the brake fluid level is low. Brake fluid plays a vital role in hydraulic braking systems, including the emergency brake. A low brake fluid level can indicate a leak or a problem with the brake system, requiring immediate attention.
- Faulty Emergency Brake Switch: The emergency brake warning light relies on a switch that is activated when the emergency brake is engaged. If the switch is faulty or misaligned, it may trigger the warning light even when the emergency brake is fully released.
- Worn Brake Pads or Rotors: In some vehicles, the emergency brake warning light is connected to the regular braking system. If the brake pads or rotors are excessively worn, it can activate the warning light. This indicates that it’s time to inspect and potentially replace the brake pads or rotors.
Troubleshooting Tips:
- Check Emergency Brake Engagement: Ensure that the emergency brake is fully disengaged. Sometimes, the warning light can remain illuminated if the emergency brake handle or pedal is not fully released. Gently pull up on the emergency brake handle or release the emergency brake pedal to ensure it is fully disengaged.
- Inspect Brake Fluid Level: Check the brake fluid level in the reservoir. If the level is low, it may indicate a leak or a problem with the brake system. In such cases, it is advisable to have the vehicle inspected by a qualified mechanic to identify and rectify any issues.
- Verify Emergency Brake Switch: Inspect the emergency brake switch, usually located near the emergency brake handle or pedal. Ensure that it is properly connected and aligned. Gently press or pull the emergency brake handle or pedal while observing the warning light. If the light does not respond to the movement of the emergency brake, the switch may need adjustment or replacement.
- Examine Brake Pads and Rotors: If the emergency brake warning light is linked to the regular braking system, inspect the brake pads and rotors. Excessive wear on the brake pads or severely worn or damaged rotors may trigger the warning light. If the brake pads are worn or the rotors are damaged, it is recommended to have them replaced by a qualified professional.
- Professional Inspection: If the troubleshooting steps do not resolve the issue or if you are unsure about performing the diagnosis yourself, it is best to seek assistance from a certified mechanic or dealership. They have the expertise and specialized equipment to diagnose and repair complex brake system problems.
Remember, troubleshooting steps may vary depending on the make and model of your vehicle. Always consult your vehicle’s owner’s manual for model-specific information and guidance. It is important not to ignore the emergency brake warning light, as it indicates a potential issue with the emergency brake system or the regular braking system. Addressing the problem promptly will help ensure the safety and reliability of your vehicle’s braking system.


