Have you ever experienced the frustration of a fuel cap warning light illuminating on your vehicle’s dashboard? This common occurrence can be a nuisance, but it serves an essential purpose – alerting you to a potential issue with the fuel cap. In this article, we will discuss the importance of a properly closed fuel cap, the reasons behind the warning light, and provide instructions on how to ensure a secure closure.
Why is a Properly Closed Fuel Cap Important?
A fuel cap acts as a seal to prevent fuel vapors from escaping and to maintain the optimal pressure in the fuel tank. It plays a crucial role in maintaining the fuel system’s efficiency, reducing harmful emissions, and preventing fuel evaporation. A loose or improperly closed fuel cap can lead to various problems, including:
- Fuel Evaporation: A loose fuel cap allows fuel vapors to escape into the atmosphere, contributing to air pollution and wasting precious fuel.
- Reduced Fuel Efficiency: When fuel vapors escape, the fuel system’s pressure decreases, affecting the fuel-to-air ratio and potentially reducing fuel efficiency.
- Check Engine Light Activation: Many vehicles are equipped with an onboard diagnostic system that detects evaporative emissions system leaks. If the system detects a leak or a loose fuel cap, it will trigger the Check Engine Light (CEL) and prompt you to address the issue.
- Safety Concerns: A loose fuel cap can result in fuel spillage, which poses a fire hazard, especially in the presence of ignition sources.
How to Properly Close the Fuel Cap:
To prevent fuel cap warning lights and ensure a secure closure, follow these simple instructions:
- Park in a Safe Location: Find a safe and well-ventilated area to park your vehicle before attempting to close the fuel cap. It is important to avoid high traffic areas or places with open flames or sparks.
- Turn off the Engine: Switch off the engine and remove the keys from the ignition. This step ensures your safety and prevents any accidental fuel spillage.
- Open the Fuel Cap Door: Locate the fuel cap door, usually on the side of the vehicle or near the rear license plate. Open the door by pressing or pulling the release lever/button inside the vehicle or by manually lifting the door.
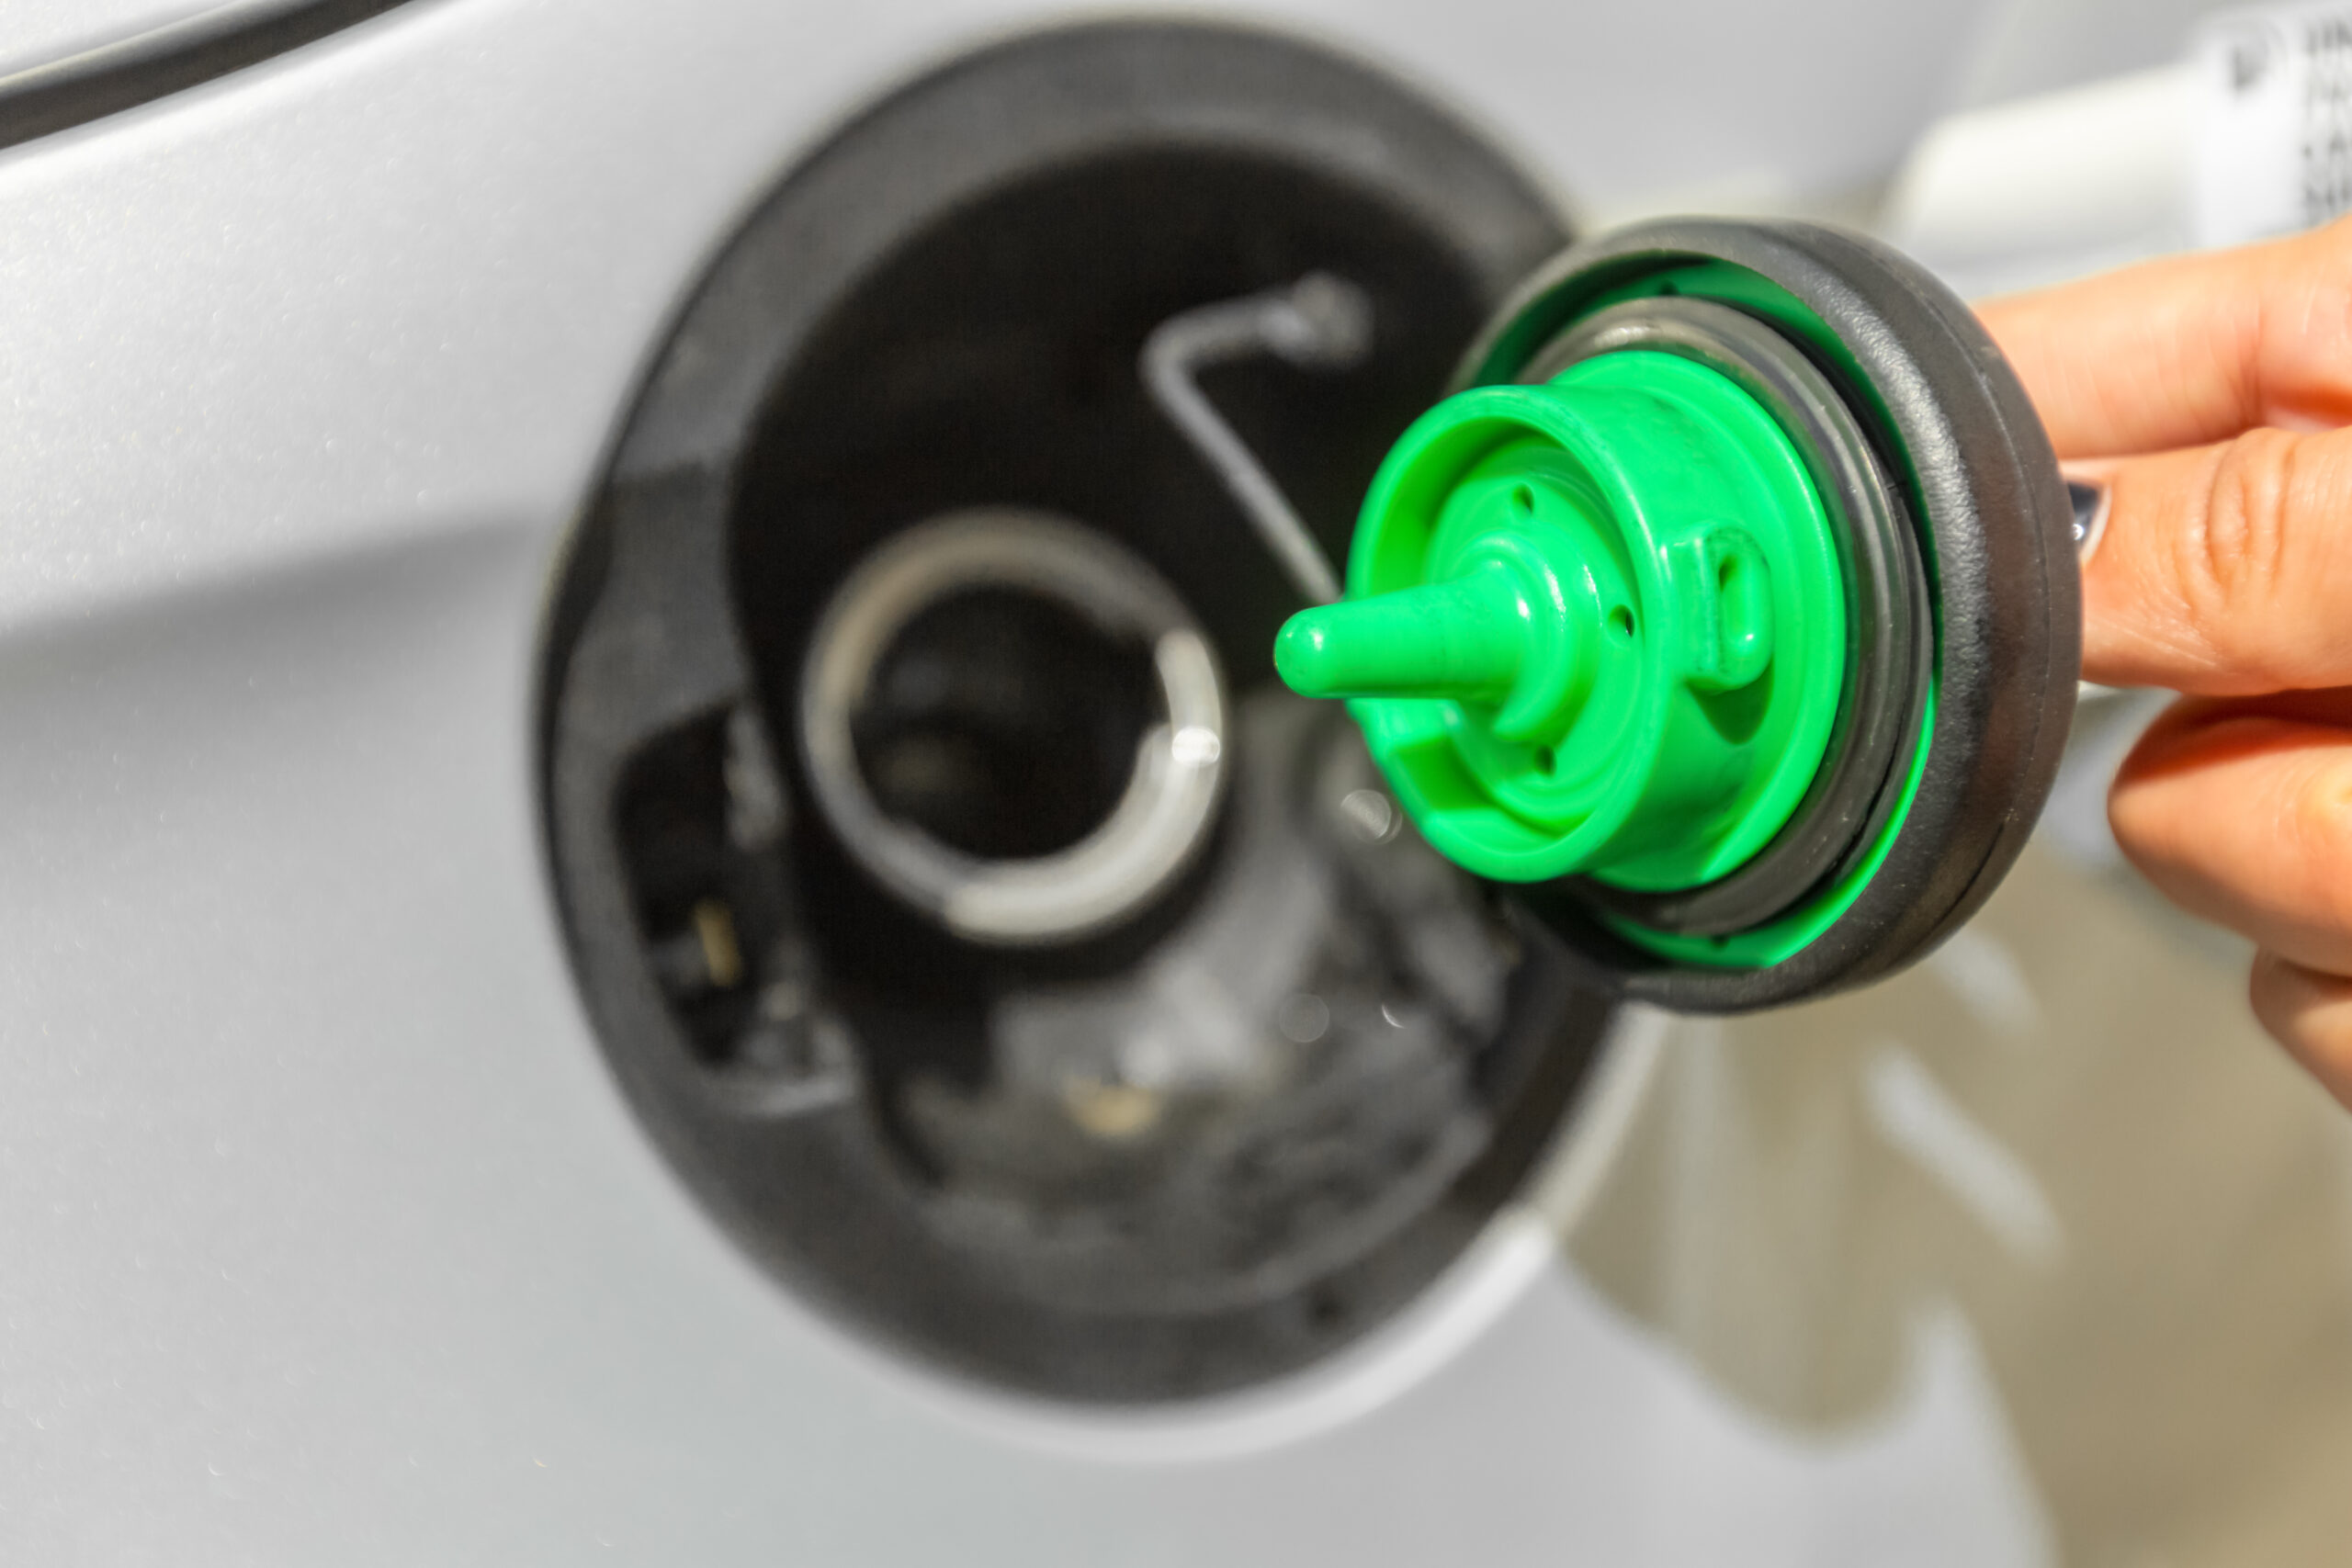
- Remove the Fuel Cap: Unscrew the fuel cap in a counterclockwise direction. Some caps may have a spring-loaded mechanism that requires you to push down while turning to release the cap.
- Inspect the Cap and Filler Neck: Before reinstalling the fuel cap, check both the cap and the filler neck for any dirt, debris, or damage. Clean the cap and wipe the filler neck if necessary.
- Align and Securely Close the Cap: Align the threads on the cap with those on the filler neck and start turning the cap clockwise. Rotate it until you hear a click or feel resistance, indicating a snug fit. Do not overtighten the cap, as it may cause damage.
- Verify Proper Closure: After closing the cap, double-check that it is tightly secured. Gently tug on the cap to ensure it is properly sealed.
- Close the Fuel Cap Door: Once you have confirmed a secure closure, close the fuel cap door until it latches securely.
By following these steps, you can ensure a proper closure of your vehicle’s fuel cap, reducing the risk of fuel system issues and warning light activations.
Properly closing your vehicle’s fuel cap is crucial for maintaining fuel efficiency, preventing fuel evaporation, and minimizing emissions. It also helps prevent the activation of the fuel cap warning light and potential damage to your vehicle’s fuel system. By taking a few moments to ensure a secure closure, you can contribute to a cleaner environment, improve fuel economy, and promote safe driving practices.


